The dStyle 365 /LegalWord ribbon

The dStyle 365/LegalWord solution for PowerPoint makes it easy to quickly create presentations using the dStyle 365/LegalWord buttons present in PowerPoint's Start ribbon.
Clicking the "New" button creates a new dStyle 365/LegalWord presentation in your organization's corporate identity.

Select a template or model from the list and click OK.
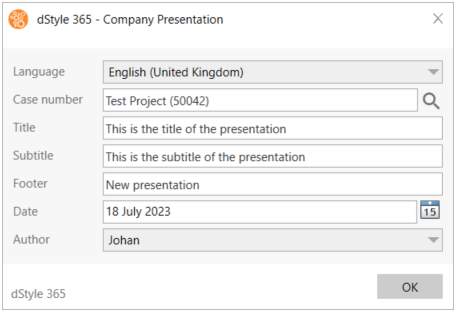
What follows is a dialog where some basic information can be entered. Press the magnifying glass to link the presentation to a file. You can then specify the presentation's title, subtitle and footer, if any. Based on these details, the presentation will be built when you click OK.
After you have created a presentation, you can change the basic data entered by clicking the "Edit" button. This will call up again the dialog where the data can be modified. When you click "OK" again, the presentation is updated.
A powerful feature of the dStyle 365/LegalWord solution for PowerPoint is the "Tools" button. When you click on the "Tools" button, a side panel opens.
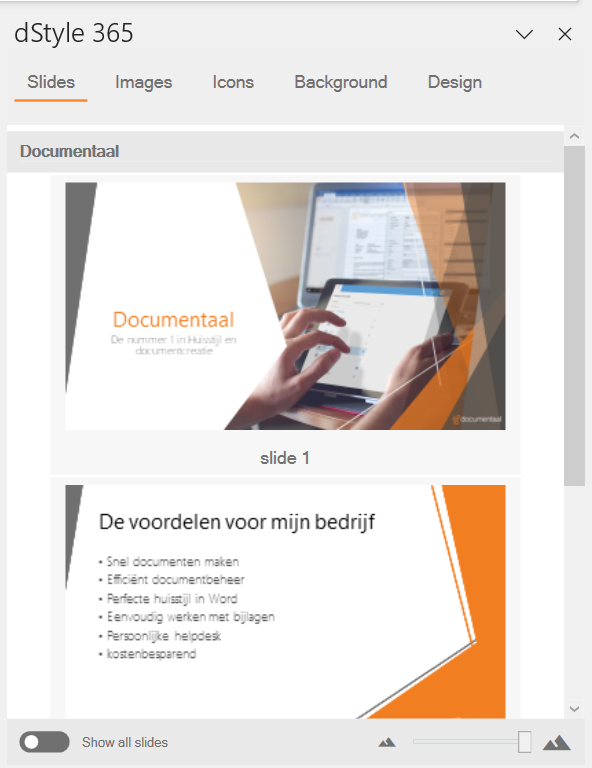
In this panel, at the top you will see a subdivision into Slides, Images, Icons, Background and Design.
Under slides, you will see a library of prepared content slides that can be inserted into your presentation at the touch of a button. These are typically slides that can be used in their entirety and are usually included by default in every presentation. Examples include slides with company information, slides with disclaimers, a slide introducing the presenter and a slide closing the presentation.
The content of the slides is of course company-specific and your organization can add its own slides. It is also possible to subdivide the slides to make it easier to find that slide you are looking for.

Under the Images tab you will find images that can be inserted into the presentation.
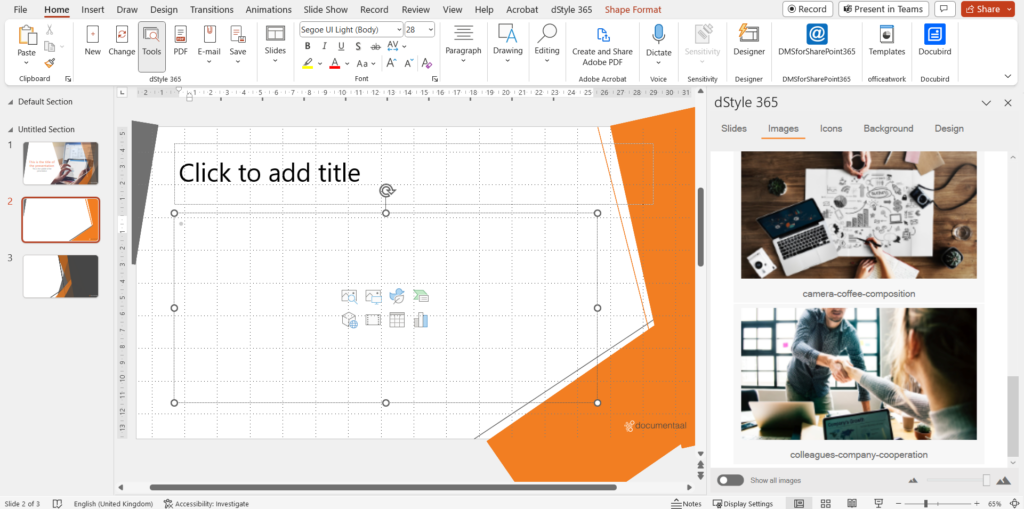
To do so, click in the temporary box where an image can be inserted and then click on the image in the panel you want to insert.
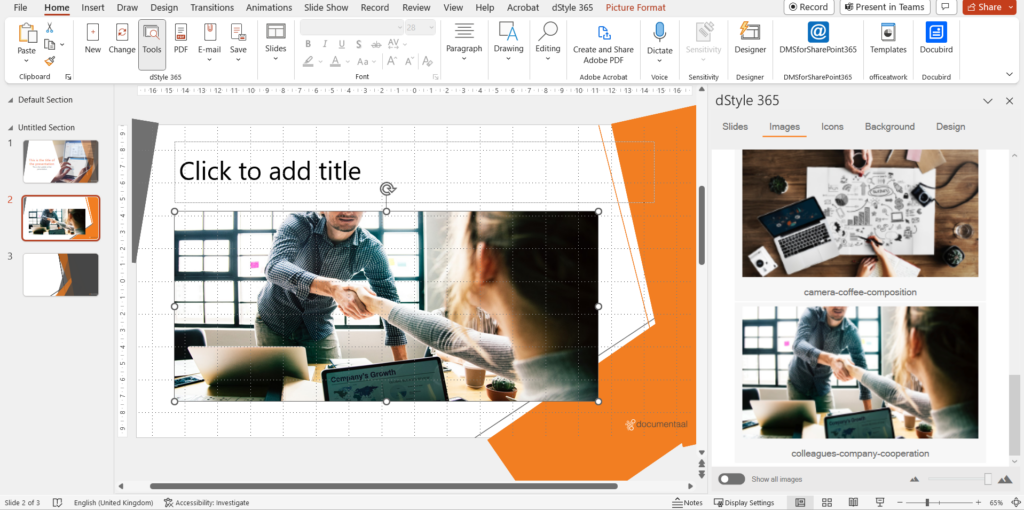
Be careful not to confuse an image from the Images tab with a background from the Background tab. It can be confusing when you insert an image from the Images tab on an entire slide. This is because it is not, like a real background image, placed at the very bottom of the slide. When you apply an image to an entire slide, other elements that are on the slide are moved to the background. These are therefore no longer visible.
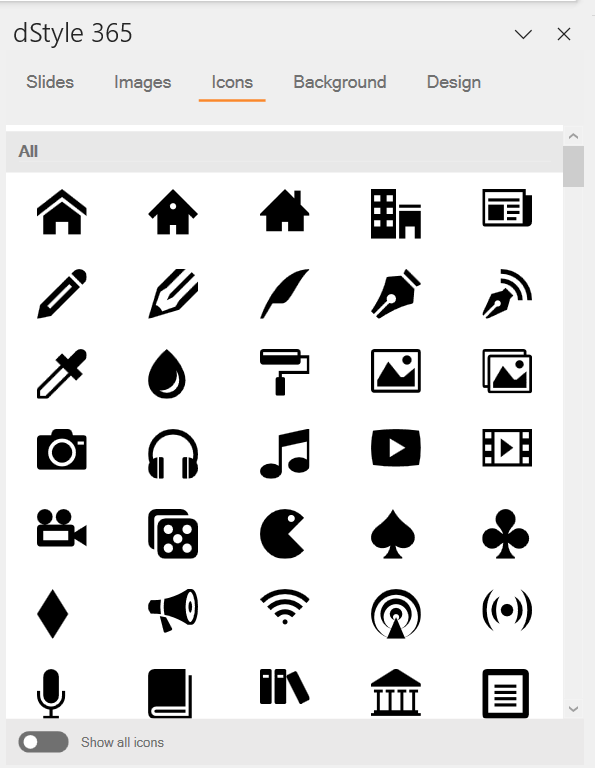
Icons are icons that, unlike images, can be formatted in the colors of the corporate identity. Thus, they are still editable.
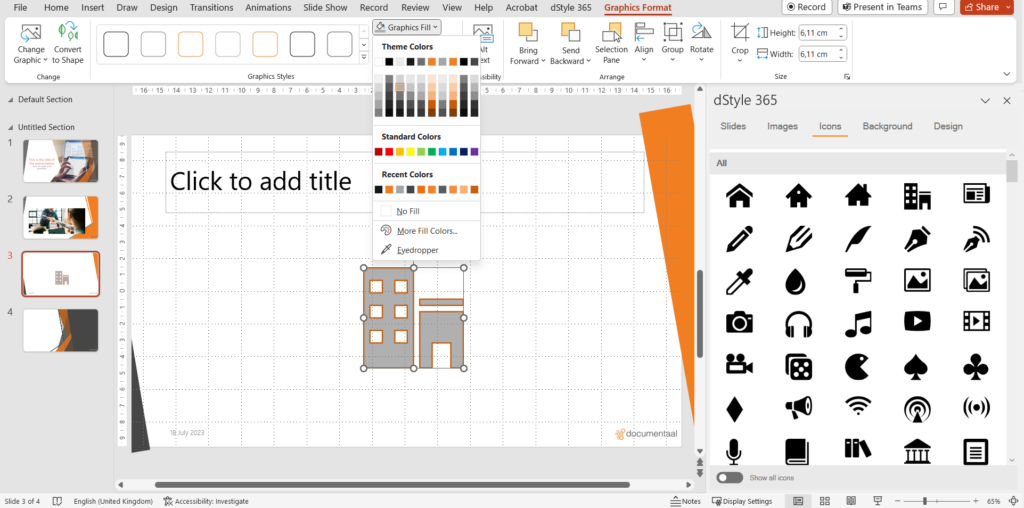
Just like an image, you can insert them into your presentation at the touch of a button and then use the "Graphic Layout" ribbon to shape them further.
Additional icons can be added by your organization to the Icons tab.
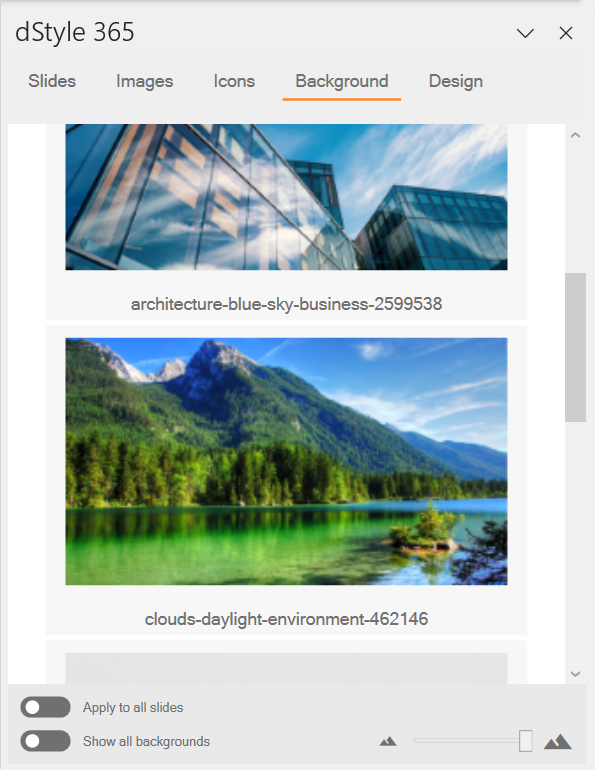
Unlike the images in the Images tab, the images in the Background tab are set as background.
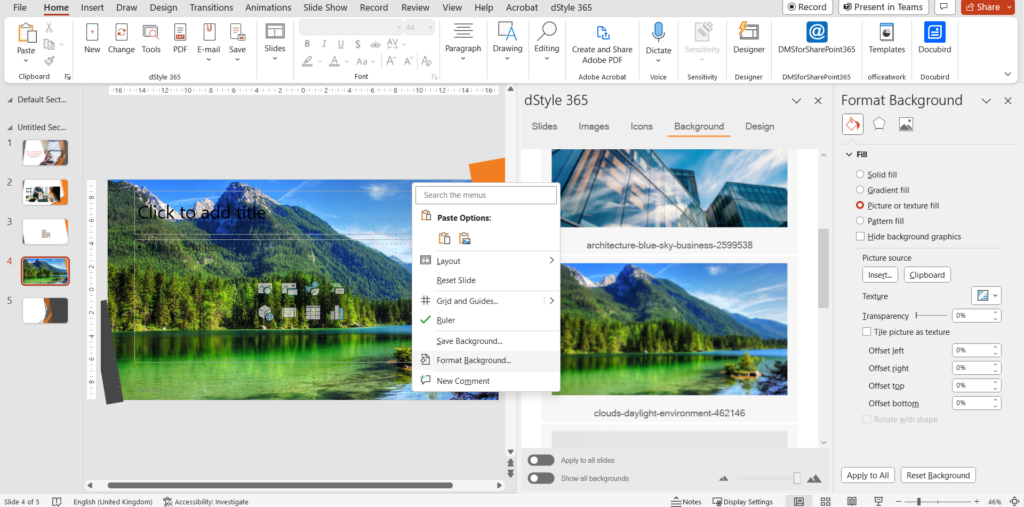
That means it is placed at the very bottom of the slide and can also be edited as such in the PowerPoint "Format Background" panel (via right mouse button -> Format Background) and other elements on the slide are still neatly visible.
Also for the backgrounds, your organization can expand it itself with new background images.
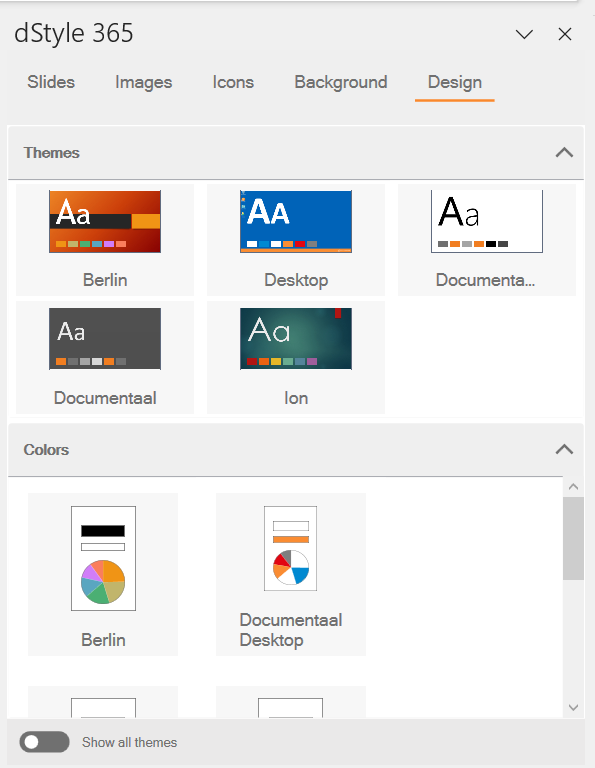
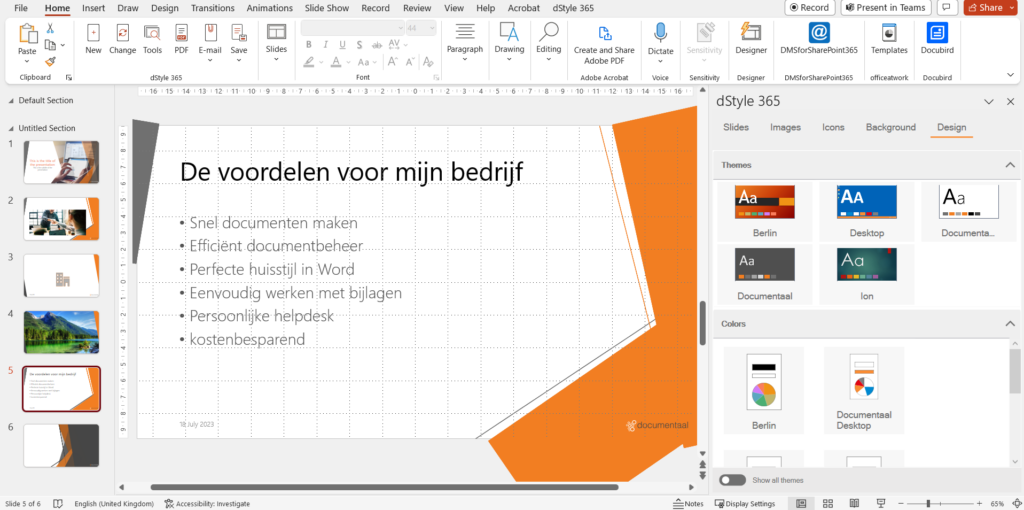
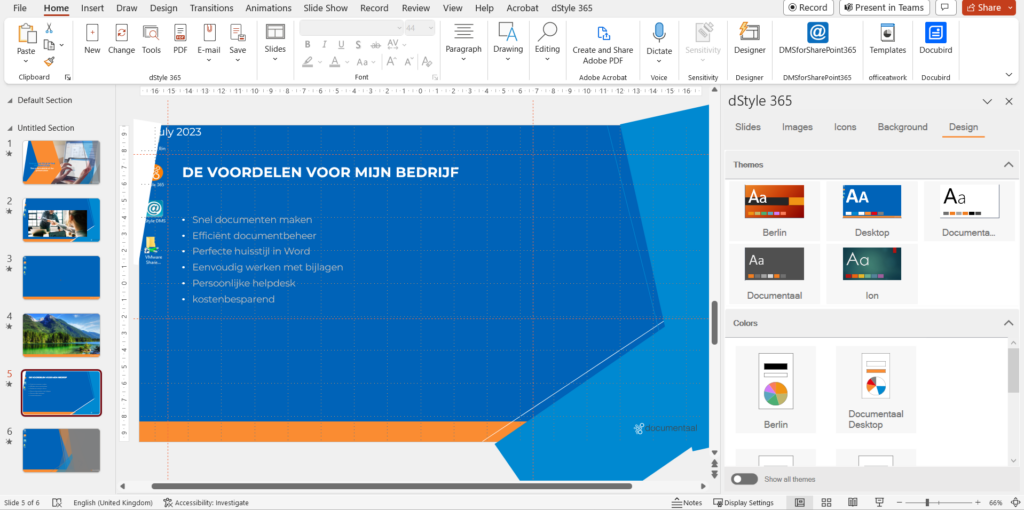
The Design tab allows you to change the theme (design) of the presentation with one touch. You can do that for the entire presentation or just for the slide you currently have selected.
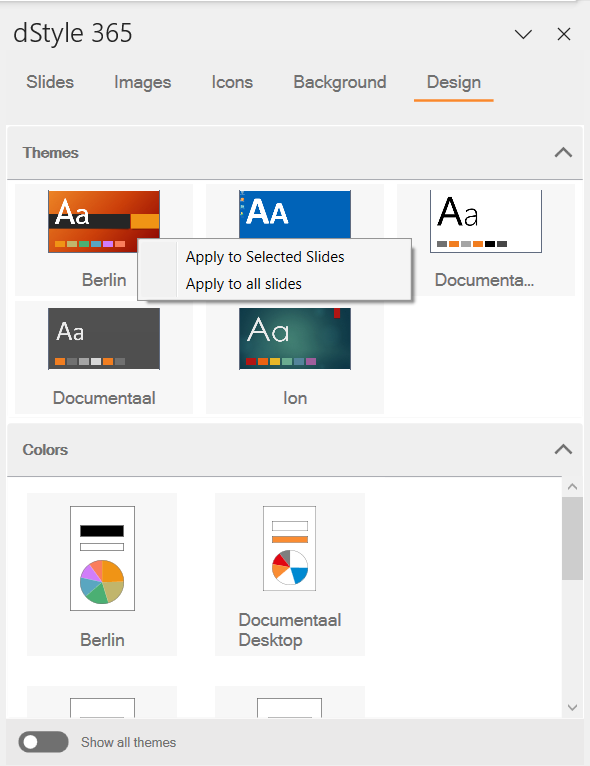
To do so, right-click on the desired theme or colors and then choose "Apply to selected slides" or "Apply to all slides. In this way, you change the appearance of the presentation at the click of a button.
It is also possible with this feature to convert a third-party presentation into a presentation in your own house style at the touch of a button.
As the name of the "PDF" button suggests, this button saves the presentation as a PDF file. Clicking this will allow you to save the presentation to the location you specify. Each slide is saved as a page within the PDF file. This is a convenient way to send the presentation.
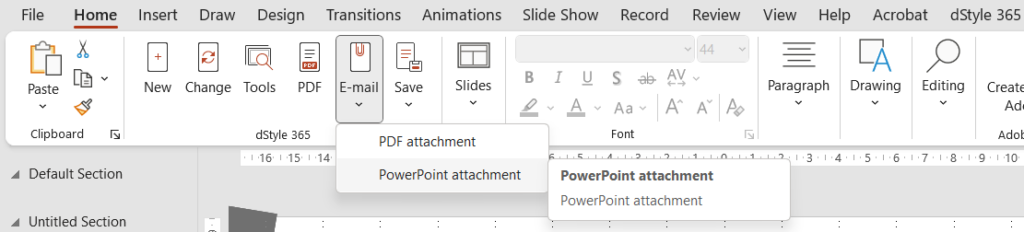
When you click on the "E-mail" button you are given the option to send the presentation as an attachment to an e-mail. You have the choice to automatically convert the presentation to a PDF file or to send the presentation as a PowerPoint presentation When you click the "E-mail" button a new e-mail is automatically opened in Outlook with the presentation as an attachment.
Save
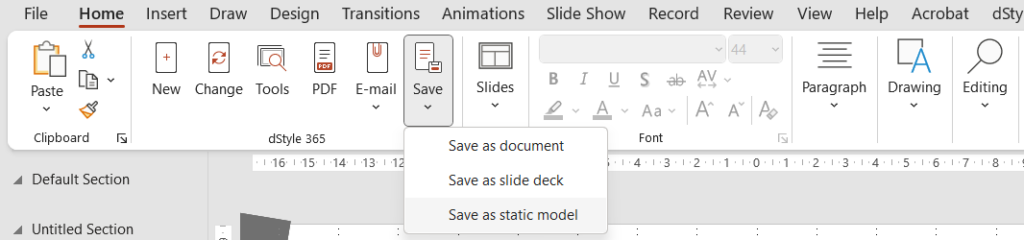
The "Save" button allows you to save the presentation. There are three options here:
Save as document. The first click here opens the DMS to save the presentation. If you have linked the presentation to a file, the appropriate save location will automatically open. Here you can name and save the presentation. The next time you choose Save as document, the presentation will be saved again under the same name
Save as slide deck. This button allows you to add a content slides to the slides tab of the Tools menu. Clicking this automatically opens the dStyle 365/LegalWord configuration location where the slide decks are saved. If you save a presentation via the Save as slide deck button, you can later insert these slides into other presentations via the Slides tab in the Tools panel.
Save as static model. As in Word, you can save presentations as models. These appear as a choice when you click new in the dStyle 365/LegalWord menu to open a new document, or in this case, presentation.
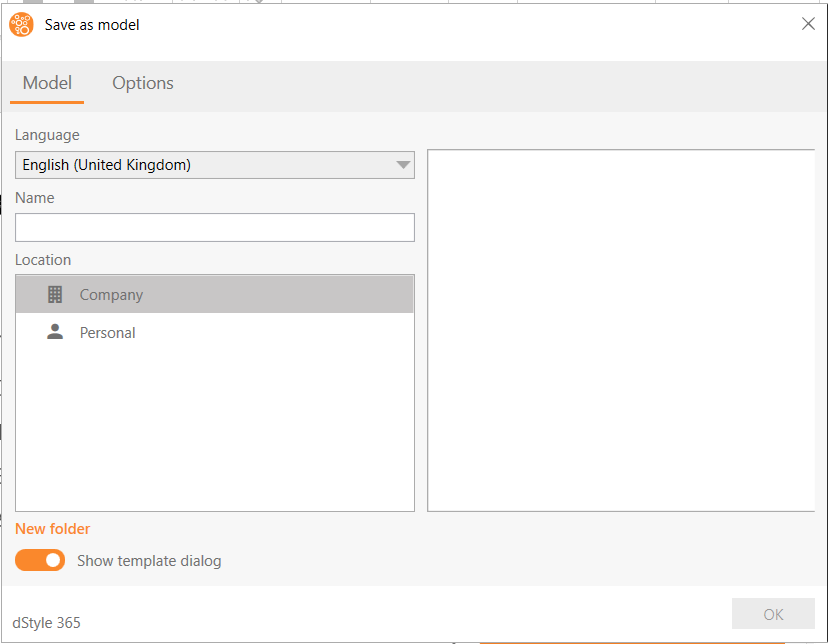
When you click the "Save as static model" button, a dialog appears where you can specify the name and location (Company or Personal).
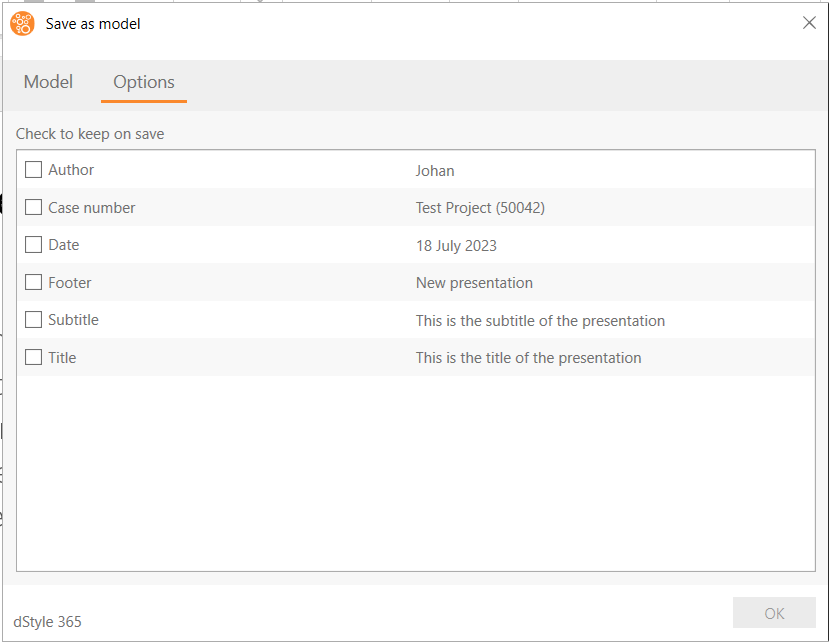
Under Options you can define which basic data you want to include when saving the model. This data is then already filled in automatically when someone opens a new presentation based on this model. However, this data can still be overwritten and deleted by the user before the new presentation is created.
See also: