Follow this guide to install the dStyle 365 DocID software.
When updating the software, it is recommended to uninstall the previous version.
In the Windows Explorer, open the DocID - installer folder and double-click on the .msi
The installation wizard is started.
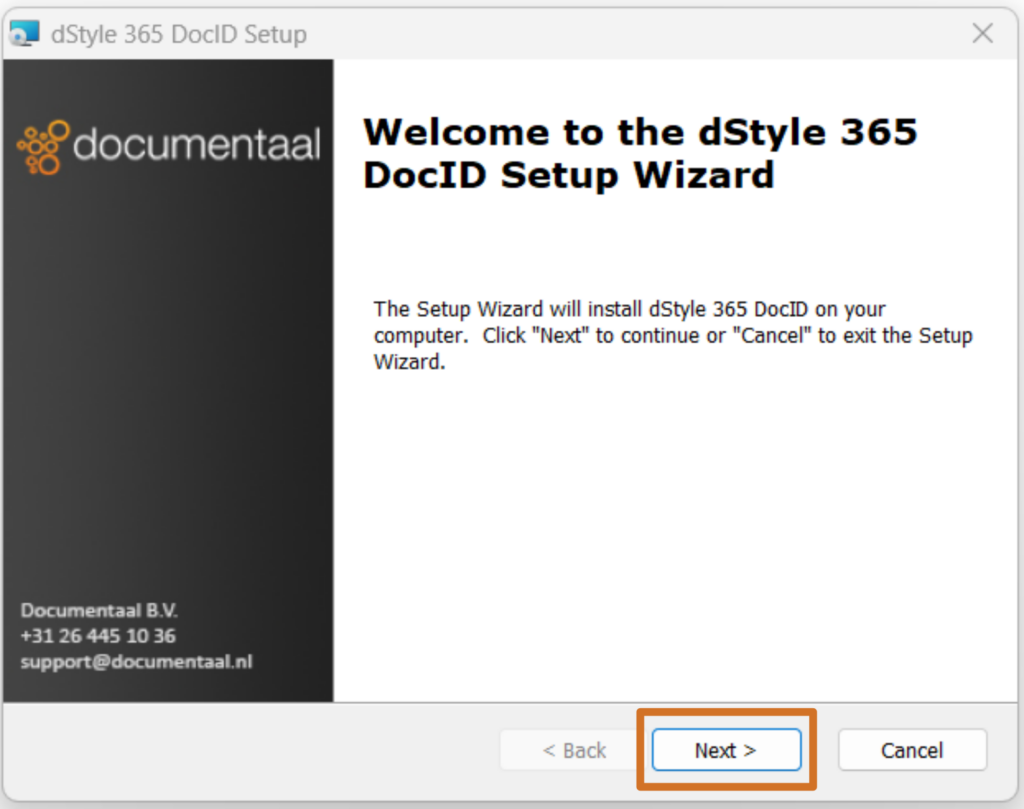
Click the Next button.

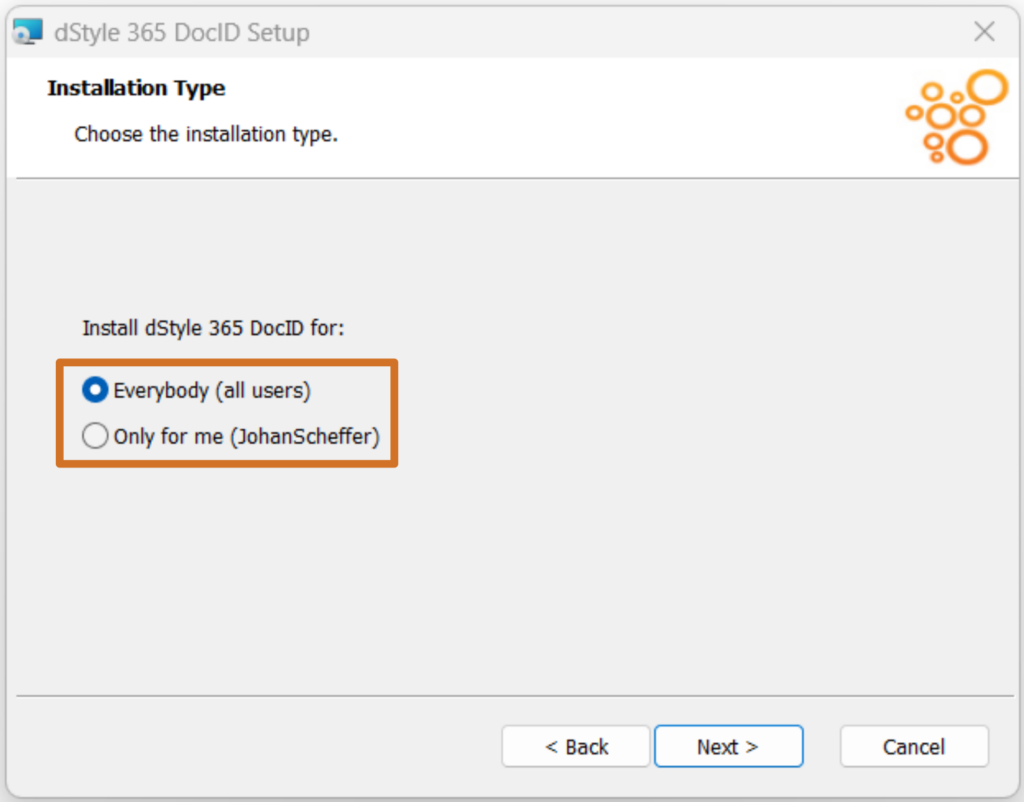
Leave theEverybody (all users)option checked and click the Next button again.
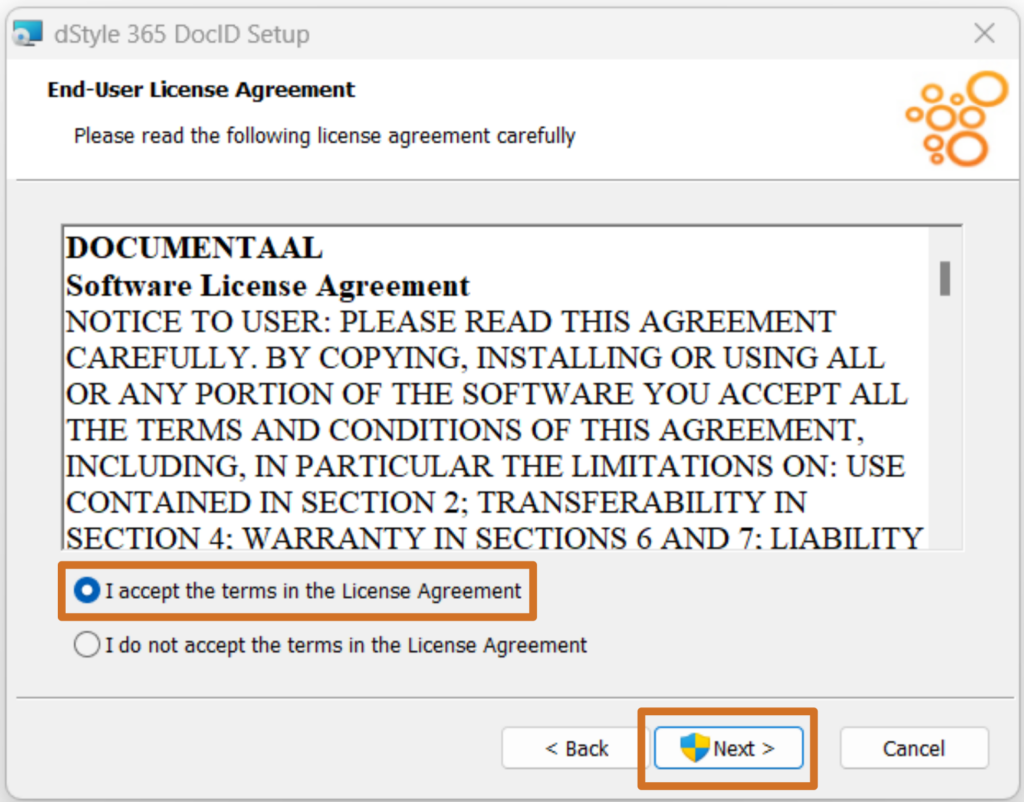
Check the option "I accept the terms in the License Agreement" and click the Next button .
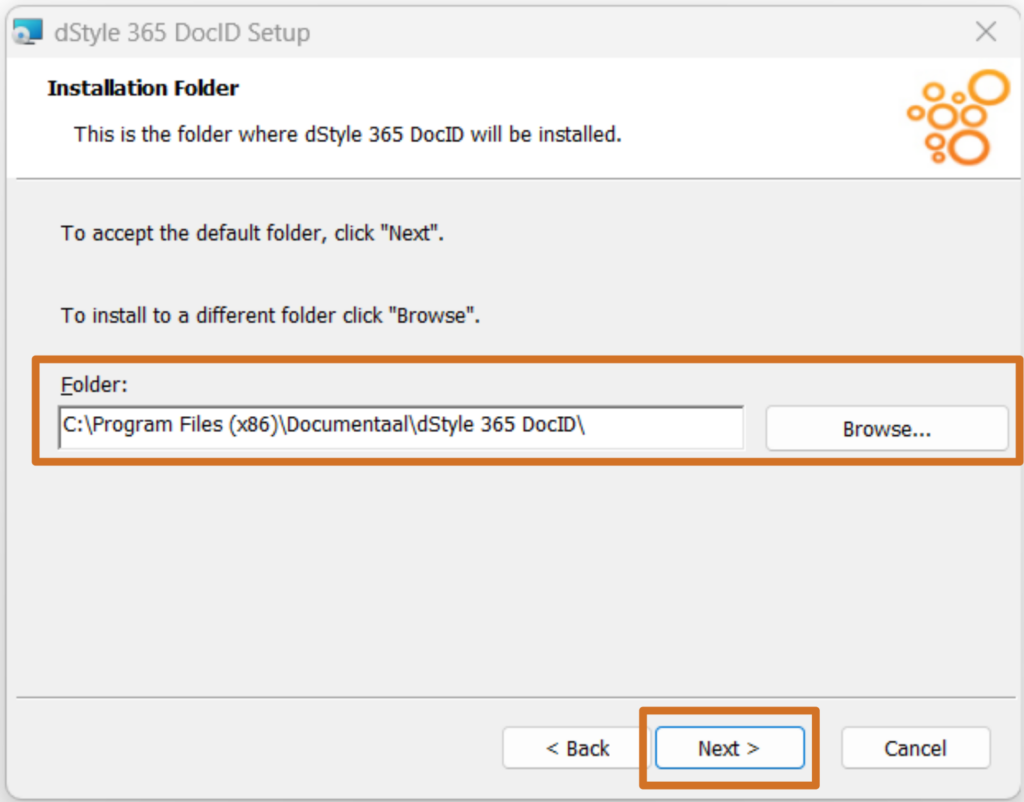
The location where dStyle 365 DocID installed is displayed. Click the Next button.
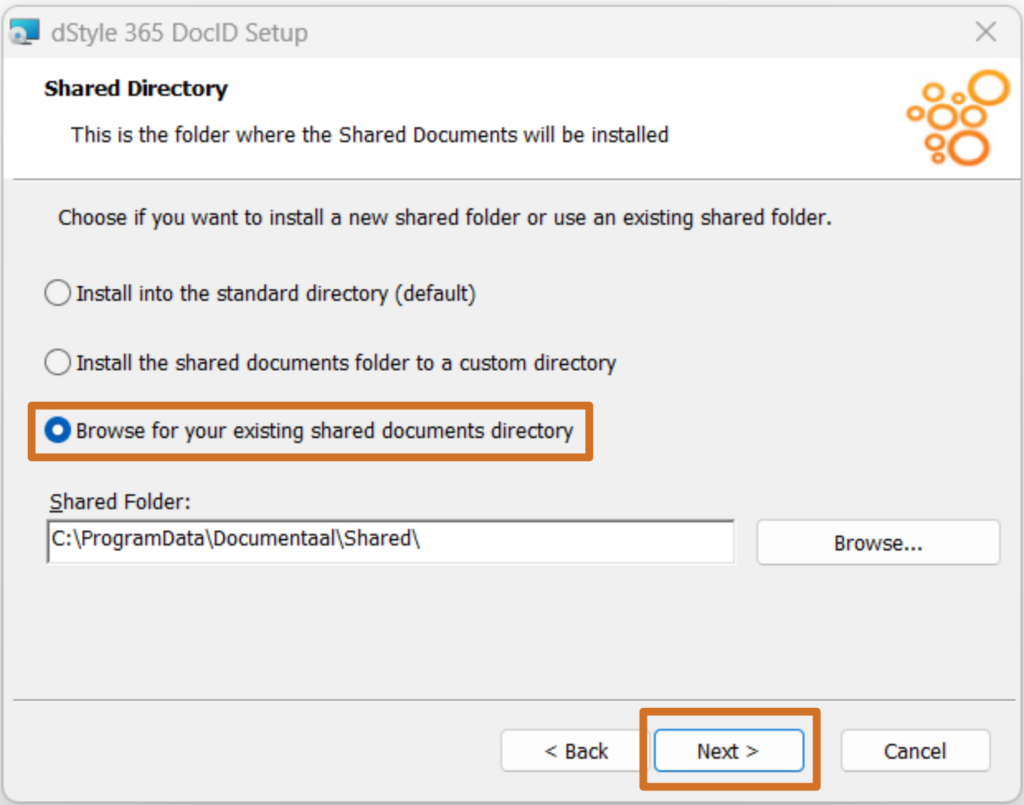
Choose the third option "Browse for your existing shared documents directory. Each DocID installation comes with a Shared folder that contains the client's specific files. At this point in the installation, you will be prompted to specify the location of the Shared folder. This is a shared location used by all users of DocID within your organization. Copy the path from your Windows File Explorer (for example, from a SharePoint location) to the Shared folder location and paste it into the field under 'Shared Folder:'. Then click Next.

All the choices have been made. Now it's time to install. To do so, click the "Install" button.
When the installation is complete, click Finish to complete the installation.
When the installation is complete, depending on your choice to install the software for all users or only for a specific user on that system, paths are defined in the registry to the location of the Shared folder.

If you chose to install for all users on that system then the path is on the LOCAL_MACHINE (see image above)
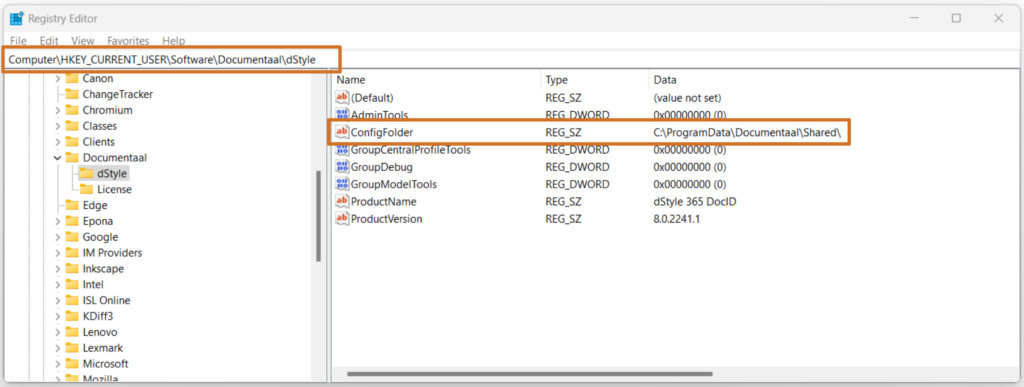
If you have chosen to install for one user then the path is on the CURRENT_USER (see image above).
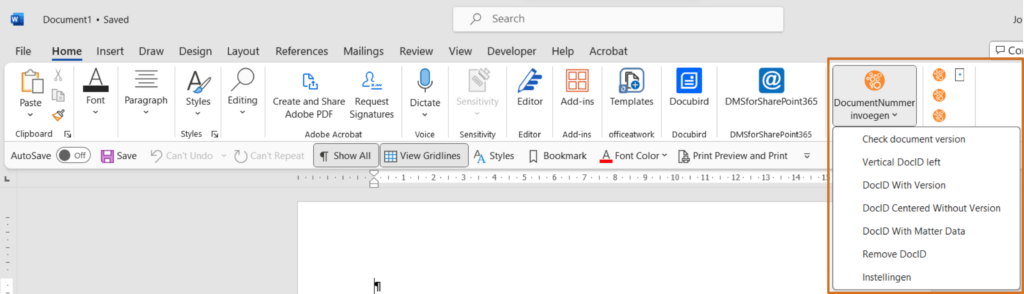
You can check if the installation was successful by opening Word. There, on the right side, you will see the DocID button with all the options (these options may vary by configuration).