This guide is about synchronizing the DocID Shared and Installer folders to users' workstations. To install the DocID software on your system, click here.
When updating the DocID software, it is recommended to delete the old version.
Preparing SharePoint
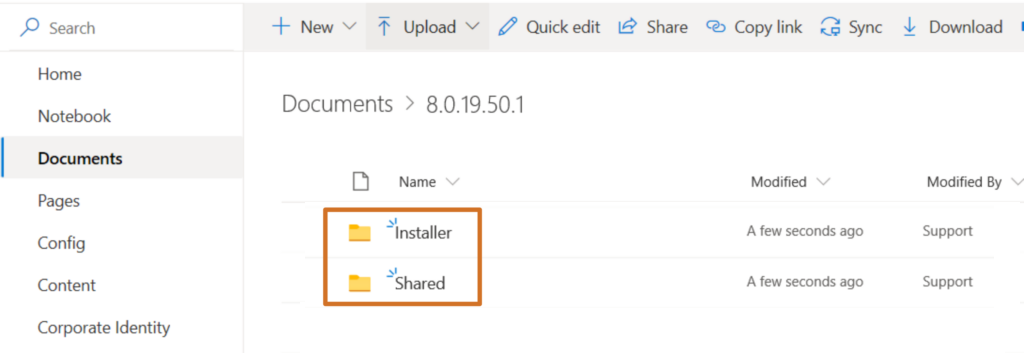
Within your SharePoint, a DociD site is created. On this site, a folder with the version number of DocID can be added in the 'Documents' (or 'Documents') folder. In it, the two folders Shared and Installer are then created. The Shared folder contains the configuration of DocID for your office. The Installer folder contains the DocID msi and installation manuals.
When switching to a new version of DocID, a new version numbered folder is created under which the Shared and Installer folders are again placed.
DocID file synchronization
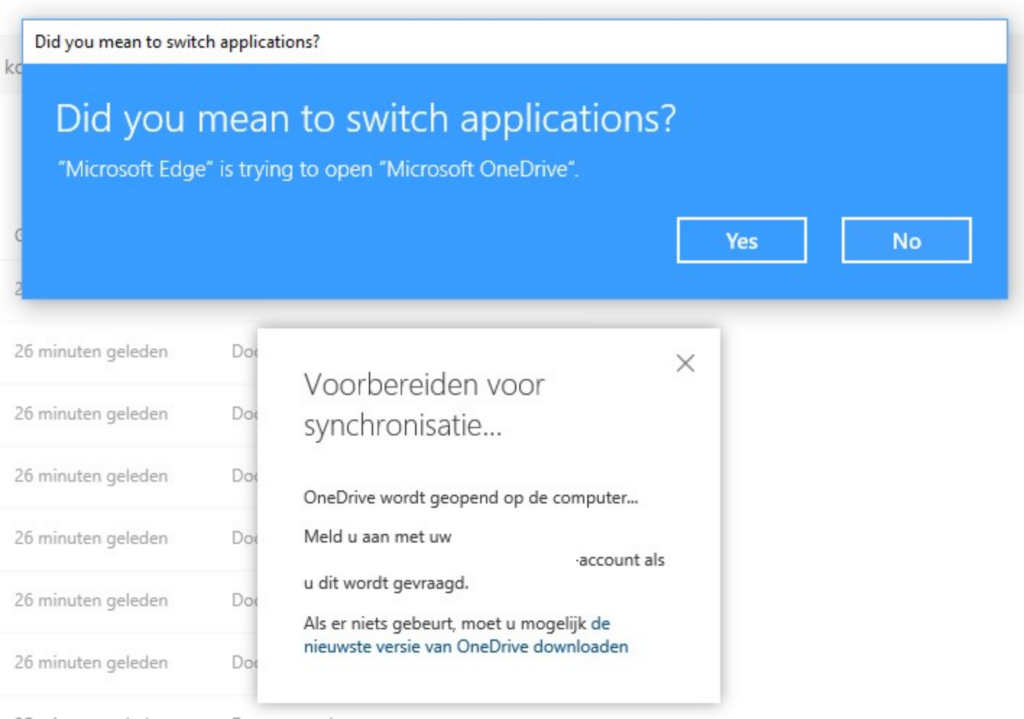
To be able to use DocID anywhere, even if no Internet connection is available, the Shared folder must be set locally using Sharepoint's sync button. The folder is then available locally, but remains linked to the central source (Sharepoint). Open the Shared folder and click the Sync button at the top of the Sharepoint bar.

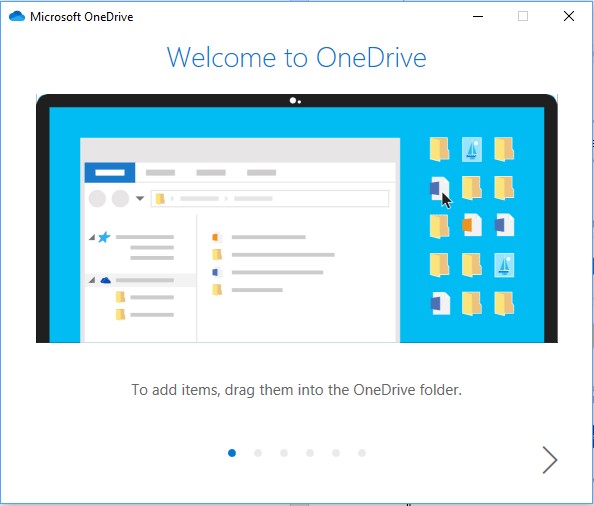
Sharepoint begins preparing for synchronization via OneDrive and asks for permission to do so. Click the Yes button.
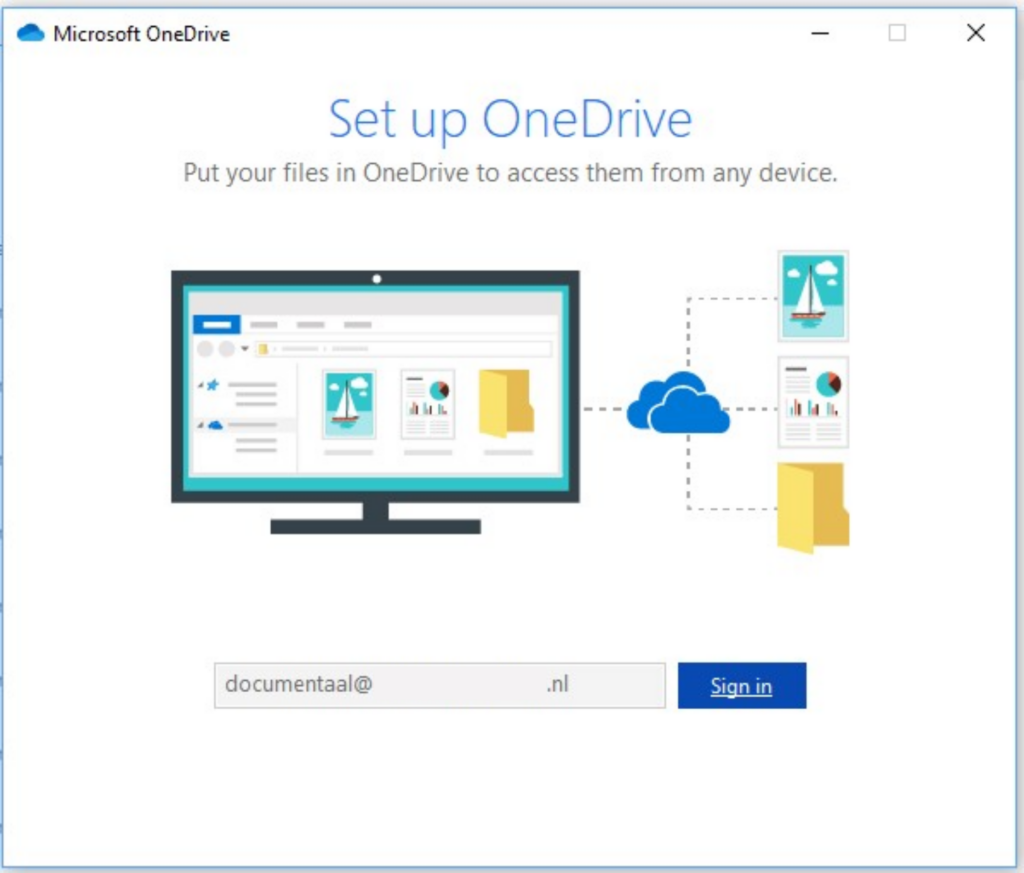
Log in with your Sharepoint account and click the Sign in button.
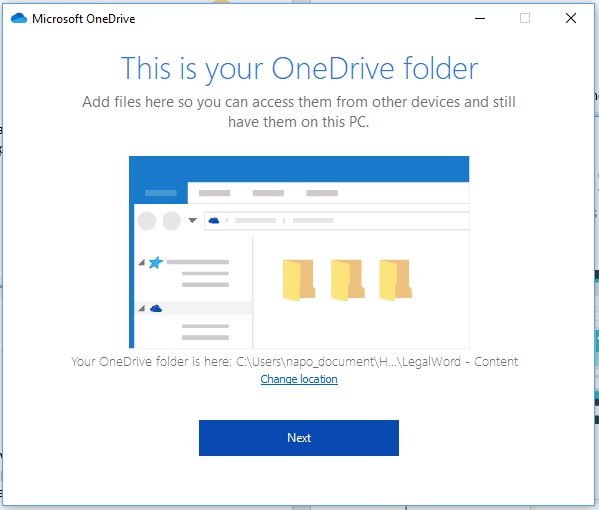
Adjust the location for the synchronized folder, if necessary, and then click the Next button.
An instruction on the use of OneDrive and synchronized folders will then appear. You can close this instruction with the cross at the top right of the screen.
The Windows Explorer will open and the DocID folder will become visible in the selected location. Set the folder so that it is always available. In Windows explorer, right-click on the Shared folder and choose "Always keep on this device. The cloud behind the folder changes to a green check mark.


In Sharepoint, the synchronization screen remains visible. Click on the cross in the upper right corner to close the screen.