Create new document
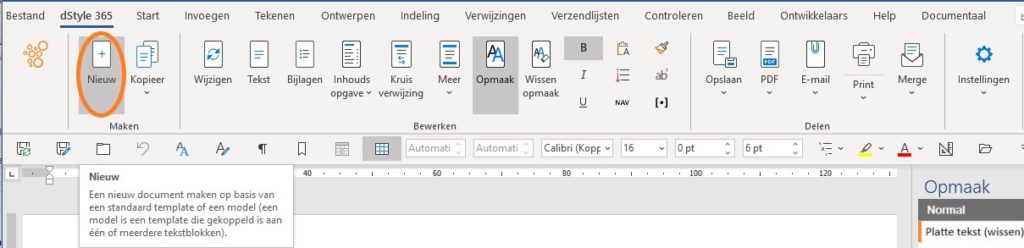
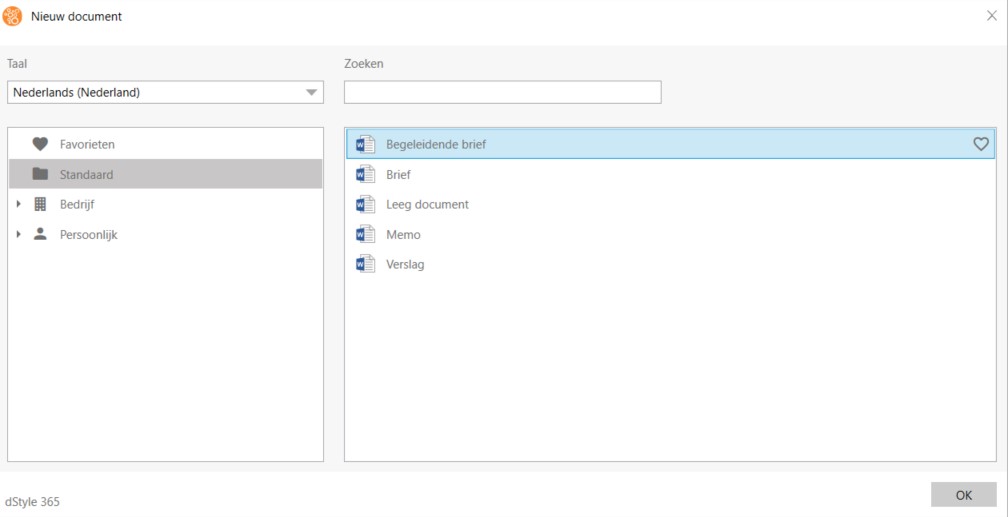
In the dStyle365 / LegalWord365 ribbon, click the New button. In the screen that opens, a document can be created based on a Standard company template or based on a model. A model is a template linked to one or more text fragments.
If there are many models, you can search by name using the search field in the top right. The Language field determines for which language models are displayed.
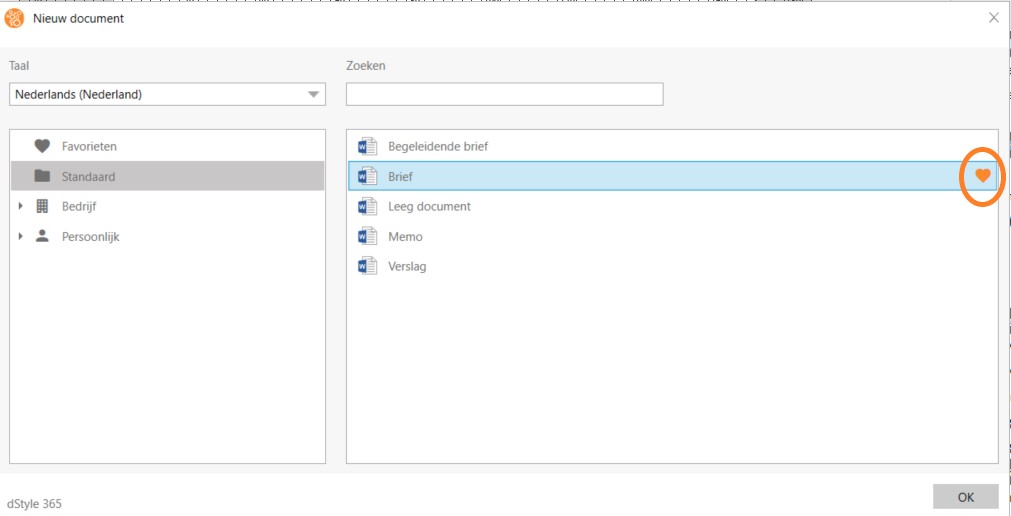
Both standard templates and models can be set as favorites. The New screen always opens in the Favorites folder, making your favorite documents immediately visible.
Select a standard template or model and click the heart icon. Documents can also be removed from the Favorites folder this way.
After opening the New screen, the favorite documents are immediately visible in the Favorites folder.
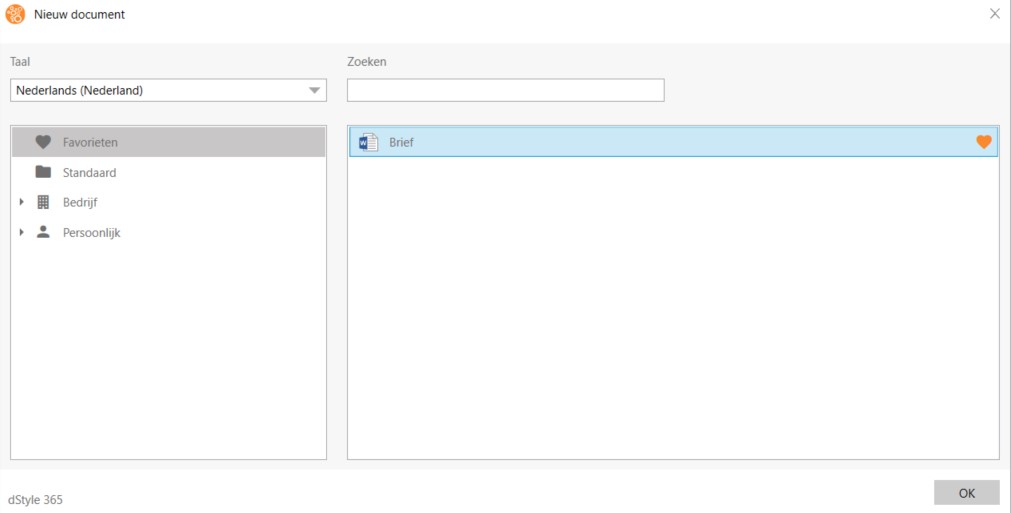
Double-click a template or model or select it and click the OK button to go to the dialog box.
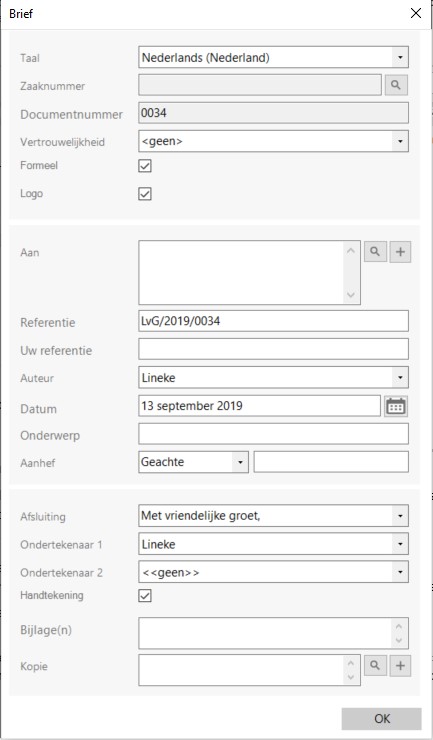
The dialog boxes contain input fields, drop-down lists, checkboxes, lookup fields, automatic fields, and profile fields. Click the OK button to close the dialog box and create the document.
The Modify button displays the dialog box associated with a document. All fields in the dialog box can be adjusted again. After clicking the OK button, the changes will be processed in the document.
Input fields
Type your own text.
Drop-down lists
Make a choice from the offered options. In some input fields, you can also type. The content of drop-down lists depends on the selected document language.
Checkboxes
Check or uncheck the field for, e.g., whether or not to place the logo in a document.
Lookup fields
These fields can be recognized by the magnifying glass button to the right of the field. Clicking the magnifying glass opens a sub-screen where you can search for, e.g., a file or a contact person.
Automatic fields
Are populated based on, e.g., the chosen file or profile.
Profile fields
Choose a profile to include employee data in the document.
Letter Dialog Box