Installation on SharePoint
When updating the software, it is advisable to remove the previous version.
Within your SharePoint environment, a dStyle365 (or LegalWord365) site is created. On this site, a folder with the version number of dStyle365 (or LegalWord365) can be added in the 'Documents' folder. Documentaal then creates the Content, Shared (or Config), and Installer folders within it. The folders contain:
- Content – text snippets, templates, and other company data
- Shared or Config – dStyle365 (or LegalWord365) configuration for your office
- Installer – *.msi and installation guide
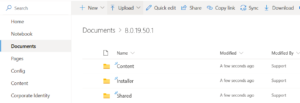
When switching to a new version of dStyle365 (or LegalWord365), a new folder with the version number is created, under which the Content, Shared (or Config), and Installer folders are again placed.
Synchronizing dStyle365 (or LegalWord365) files
To use dStyle365 (or LegalWord365) everywhere, even without an internet connection, these 3 folders must be stored locally using SharePoint's synchronization button. The folders will then be available locally but remain linked to the central source (SharePoint).
- Open the Content folder and click the Sync button at the top of the SharePoint bar.
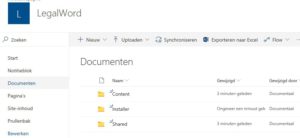
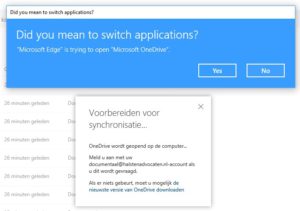
- SharePoint begins preparing for synchronization via OneDrive and requests permission. Click the Yes button.
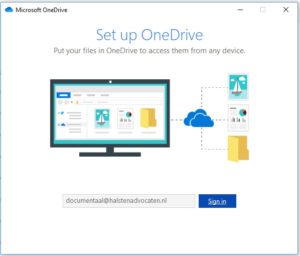
- Log in with your SharePoint account and click the Sign in button.
- If necessary, adjust the location for the synchronized folder, then click the Next button.
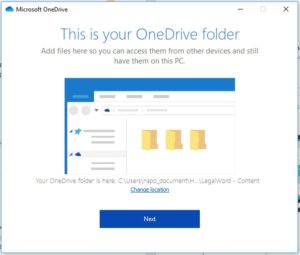
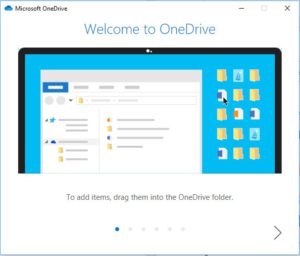
- An instruction on using OneDrive and synchronized folders will then appear. You can close this instruction by clicking the 'x' in the top right corner of the screen.
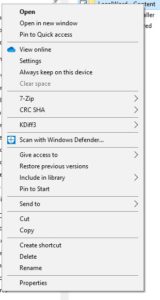
- Windows Explorer will open, and the dStyle365 (or LegalWord365) – Content folder will be visible at the chosen location. Set the folder to always be available. In Windows Explorer, right-click on the Content folder and select Always keep on this device. The cloud icon next to the folder will change to a green checkmark.

- The synchronization screen will remain visible in SharePoint. Click the 'x' in the top right to close the screen.
Repeat steps 1, 2, 6, and 7 for the Shared (or Config) and Installer folders. Steps 3 to 5 are skipped because the login credentials are already known.
Installing dStyle365 (or LegalWord365)
- In Windows Explorer, open the dStyle365 (or LegalWord365) – Installer folder and double-click the *.msi. The installation wizard will start. Click the Next button.
- Leave the 'Everybody' option checked and click the Next button again.
- Check the 'I accept the terms in the License Agreement' option and click the Next button again.
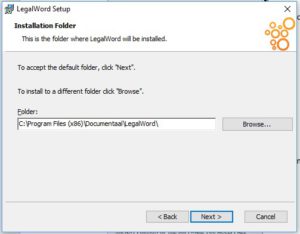
- The location where dStyle365 (or LegalWord365) will be installed is displayed. Click the Next button.
- Check the third option 'Browse for your existing shared documents directory'. Go to Windows Explorer and open the OneDrive-linked Shared folder, for example: C:\Users\%username%\[ClientName]\LegalWord365 – Config. Select the path at the top of the screen, copy it, and paste it into the installation wizard. Repeat this for the Content folder. Click the Next button.
- Check or uncheck the 'Outlook', 'Powerpoint', and 'Excel' options if those modules are used, and click the Next button.
- dStyle365 (or LegalWord365) is now ready to be installed. Click the Install button to start the installation.
- Once the installation is complete, the final screen of the installation wizard will appear. Click the Finish button to close the wizard.
Installation check
- Open Microsoft Word. If the dStyle365 (or LegalWord365) installation was successful, the dStyle365 (or LegalWord365) ribbon will be displayed. Click the New button to create a document.

- If prompted for a profile, you can create a personal profile or choose a standard one from the central profiles. If the created document (e.g., a letter) contains the client's logo and corporate identity, the installation was successful.