Follow this guide for installing the dStyle365/ LegalWord365 software.
When updating the software, it is recommended to uninstall the previous version. For this, follow the following instructions.
Installing dStyle365 (LegalWord365)
In Windows Explorer, open the dStyle365 (or LegalWord365) – Installer folder and double-click the *.msi file.
The installation wizard will start. Click the Next button.
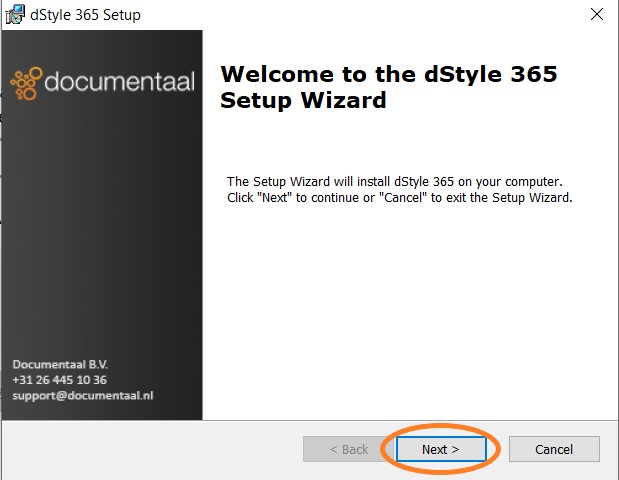
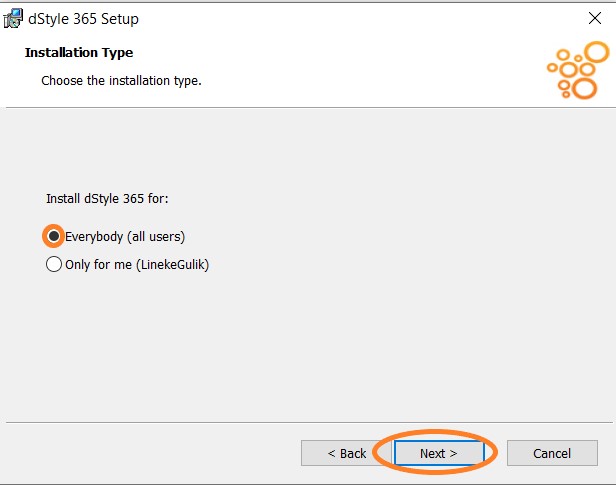
Leave the 'Everybody' option checked and click the Next button again.
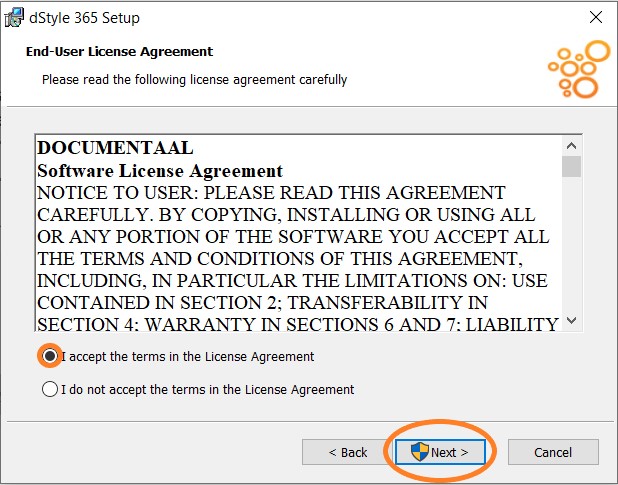
Check the option 'I accept the terms in the License Agreement' and click the Next button again.
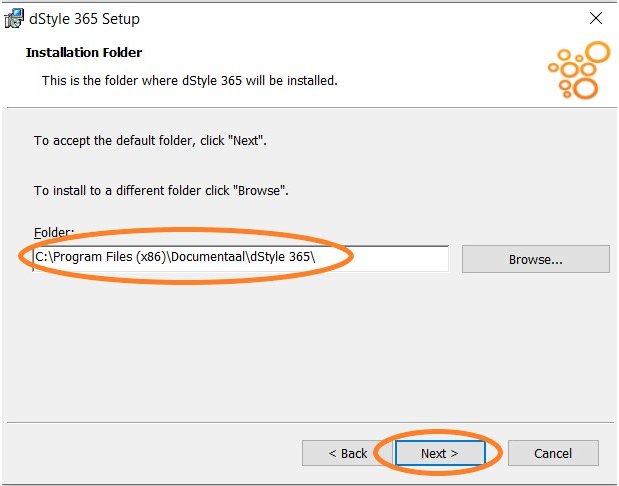
The location where dStyle365 (or LegalWord365) will be installed is displayed. Click the Next button.
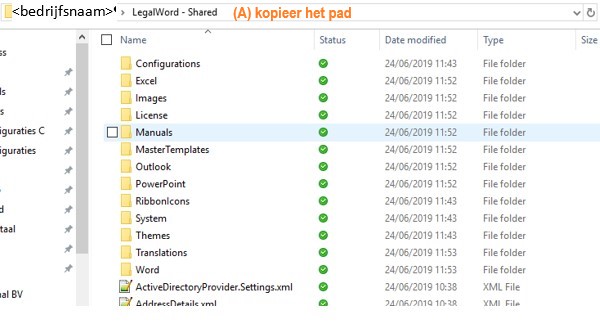
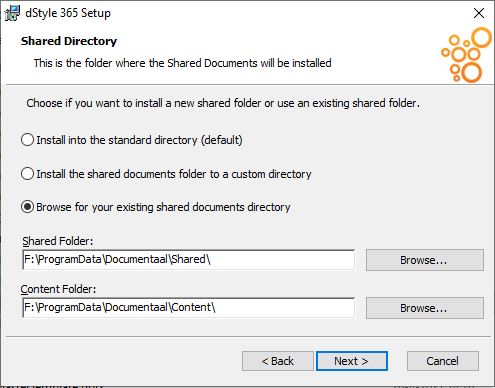
Check the third option 'Install the shared documents folder to a custom directory'. The installation wizard already contains 2 paths for the shared and content folders that need to be adjusted. (The Shared folder may also be known as the Config folder). (A) Go to Windows Explorer and open the Shared or Config folder. Select the path at the top of the screen, copy it, and (B) paste it into the installation wizard. Repeat this for the Content folder. Click the Next button.
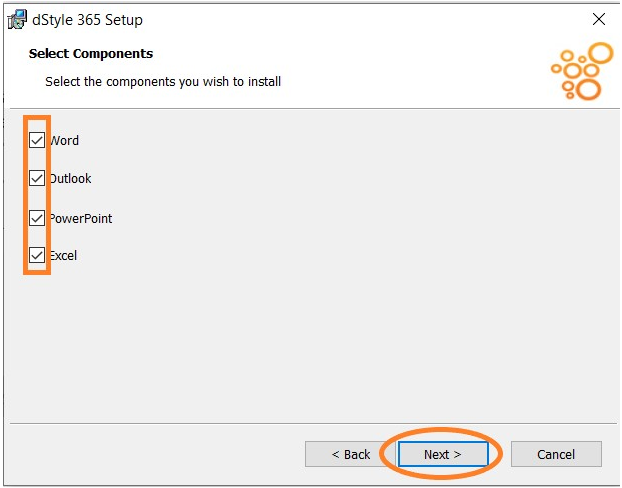
Check or uncheck the 'Outlook', 'Powerpoint' and 'Excel' options if you use these modules and click the Next button.
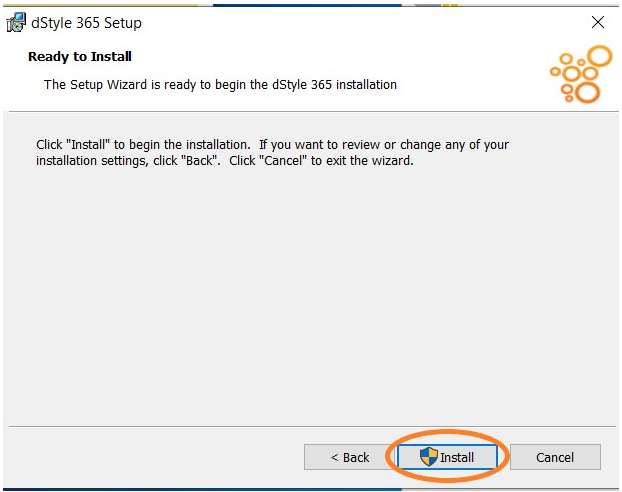
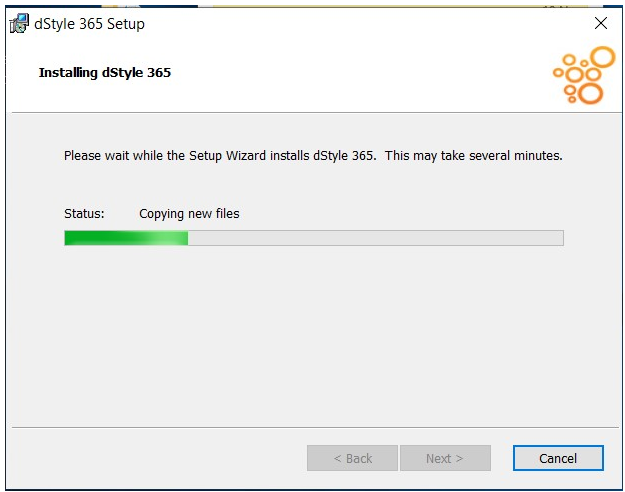
dStyle365 is now ready to be installed. Click the Install button to start the installation.
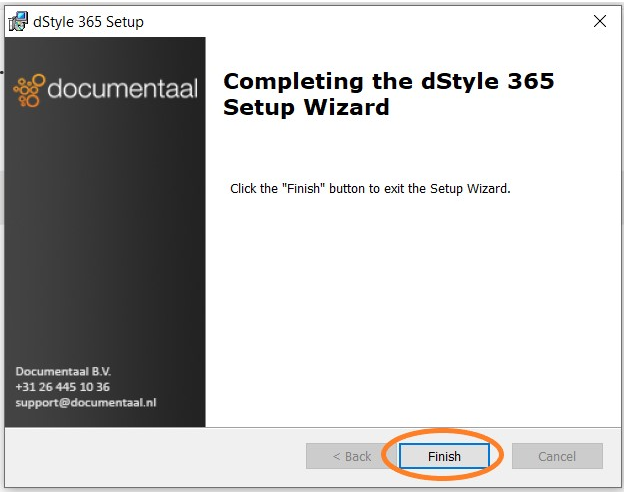
When the installation is complete, the final screen of the installation wizard appears. Click the Finish button to close the wizard.
Check installation and set favorite profiles
Open Microsoft Word. If the dStyle365 installation was successful, the dStyle365 (LegalWord365) ribbon will be displayed. Click the New button to create a document.
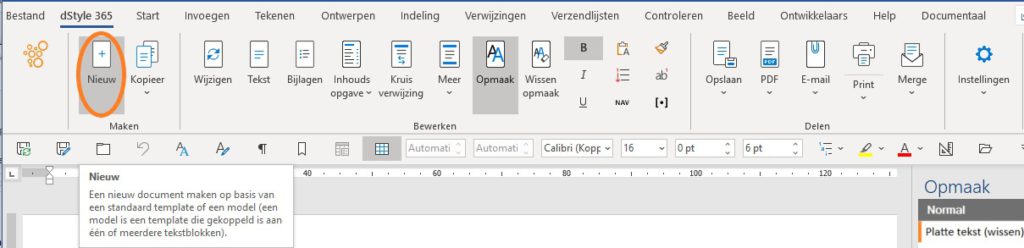
dStyle365 (LegalWord365) always requires a profile to create a document. The profiles of all employees in your organization are already included in dStyle365 (LegalWord365). When creating a new document, you can choose which profile you want to use. By setting favorite profiles, you will not see all profiles, but only the profiles that are relevant to you.
In the ribbon, click the Settings button > Favorite Central Profiles. In the favorite central profiles screen, all profiles are displayed on the left. Move the profiles of the employees for whom you create documents to the right side. When creating a document, only the profiles shown on the right will now be displayed. Which profiles are favorites can, of course, be adjusted by you at any time.
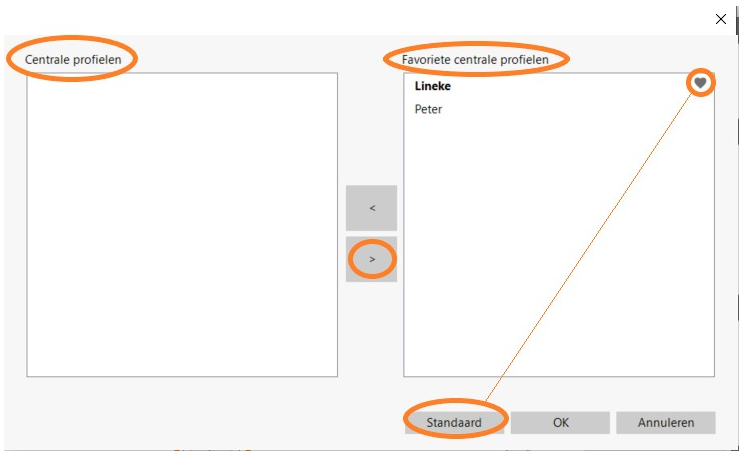
Make the profile you use most often the Default by selecting the profile and clicking the Default button.