Using and Setting Indents in Microsoft Word
Indenting is a feature in Microsoft Word used to adjust the alignment and positioning of text and paragraphs. It helps in creating structured and tidy documents.
To set indents in Microsoft Word, follow these steps:
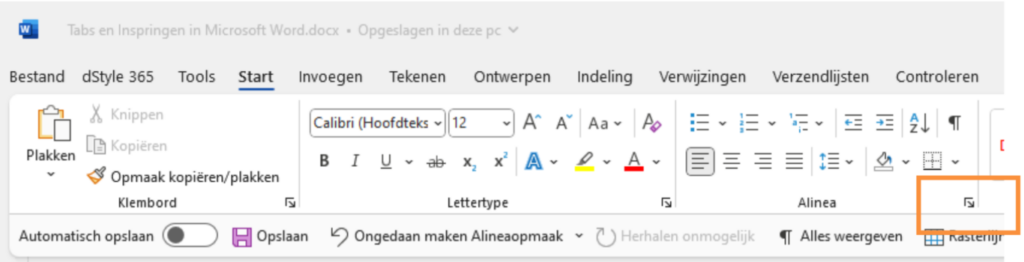
Click the arrow in the bottom right of the Home ribbon, in the Paragraph section.
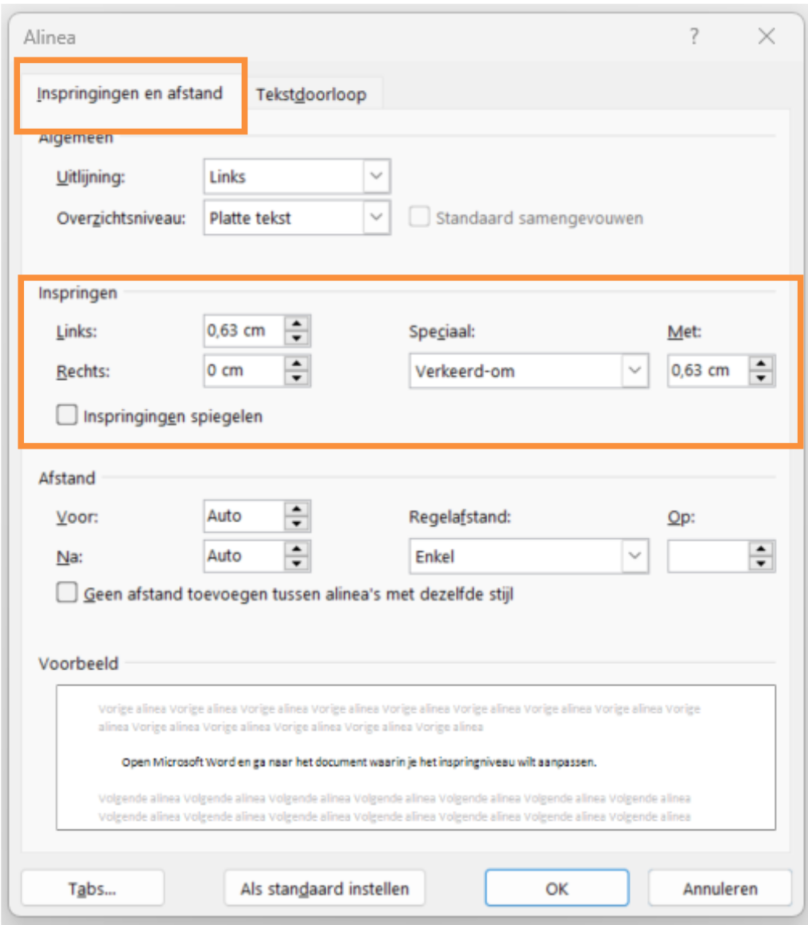
Then click on the Indents and Spacing tab. Besides the option to adjust alignment and spacing before and after the style, you can also adjust indentation here. Use the up and down arrows to increase or decrease the indent, or enter a number yourself. Additionally, there are special options, for example, to indent only the first line or to create a hanging indent for subsequent lines. Click the OK button to save your changes and close the window.
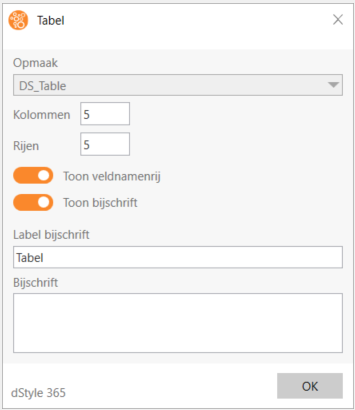
To quickly indent a paragraph, you can also simply press the Tab key at the beginning of a paragraph. By default, the text will move 1.27 cm to the right. By pressing the Tab key multiple times, you can further increase the indent. Note that you should only use the Tab key at the beginning of a paragraph. Keep in mind that using the spacebar for indentation is not recommended, as it can lead to inconsistent formatting and is difficult to modify.
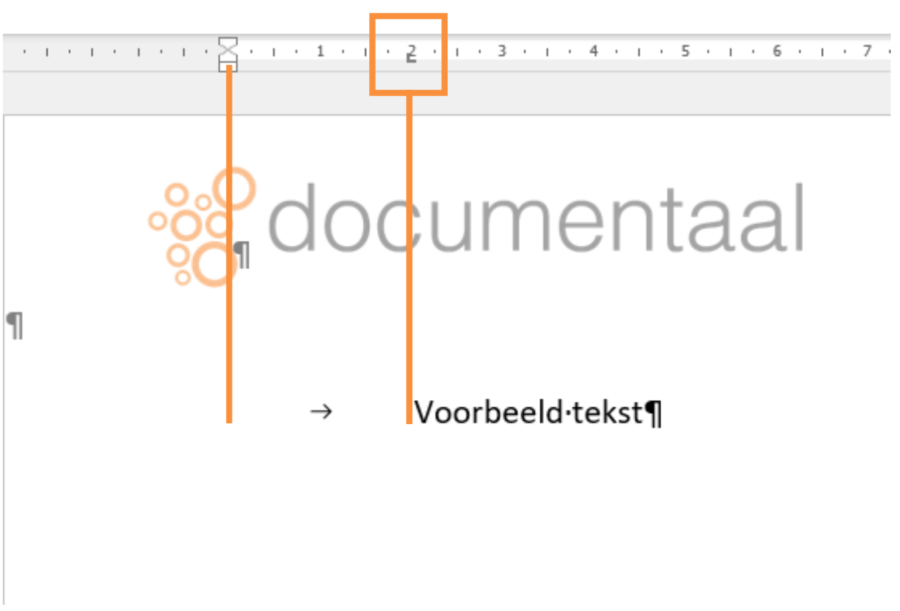
To undo an indent, place the cursor at the beginning of the indented paragraph and press the Shift + Tab key combination. This moves the text back to the left. You can also change the indent by using the sliders on the ruler. Drag the top triangle (First Line Indent) or the bottom triangle (Hanging Indent) to the desired position to adjust the indent.
For more information on using rulers in Microsoft Word, you can consult this instruction.