DocID Installation on SharePoint
This guide explains how to synchronize the DocID Shared and Installer folders to user workstations.
When updating DocID software, it is recommended to remove the old version.
Preparing SharePoint
A DocID site will be created within your SharePoint. On this site, a folder with the DocID version number can be added to the 'Documents' folder. Inside this folder, the two subfolders 'Shared' and 'Installer' are then created. The 'Shared' folder contains the DocID configuration for your office. The 'Installer' folder contains the DocID MSI and installation manuals.
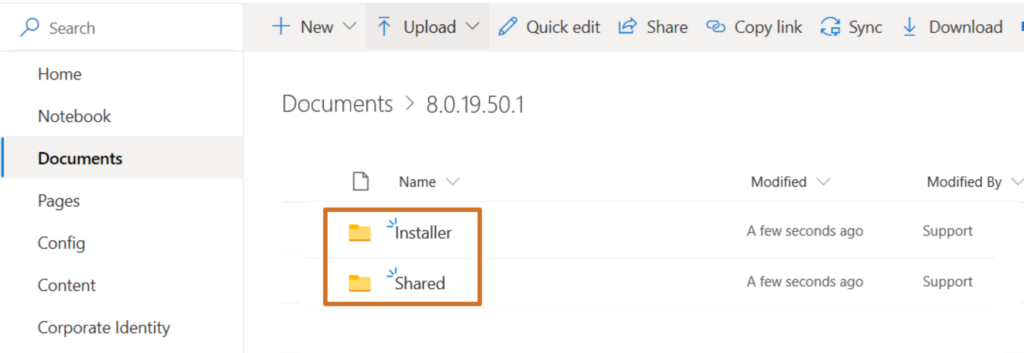
When transitioning to a new version of DocID, a new folder with the version number is created, under which the Shared and Installer folders are placed again.
Synchronizing DocID Files
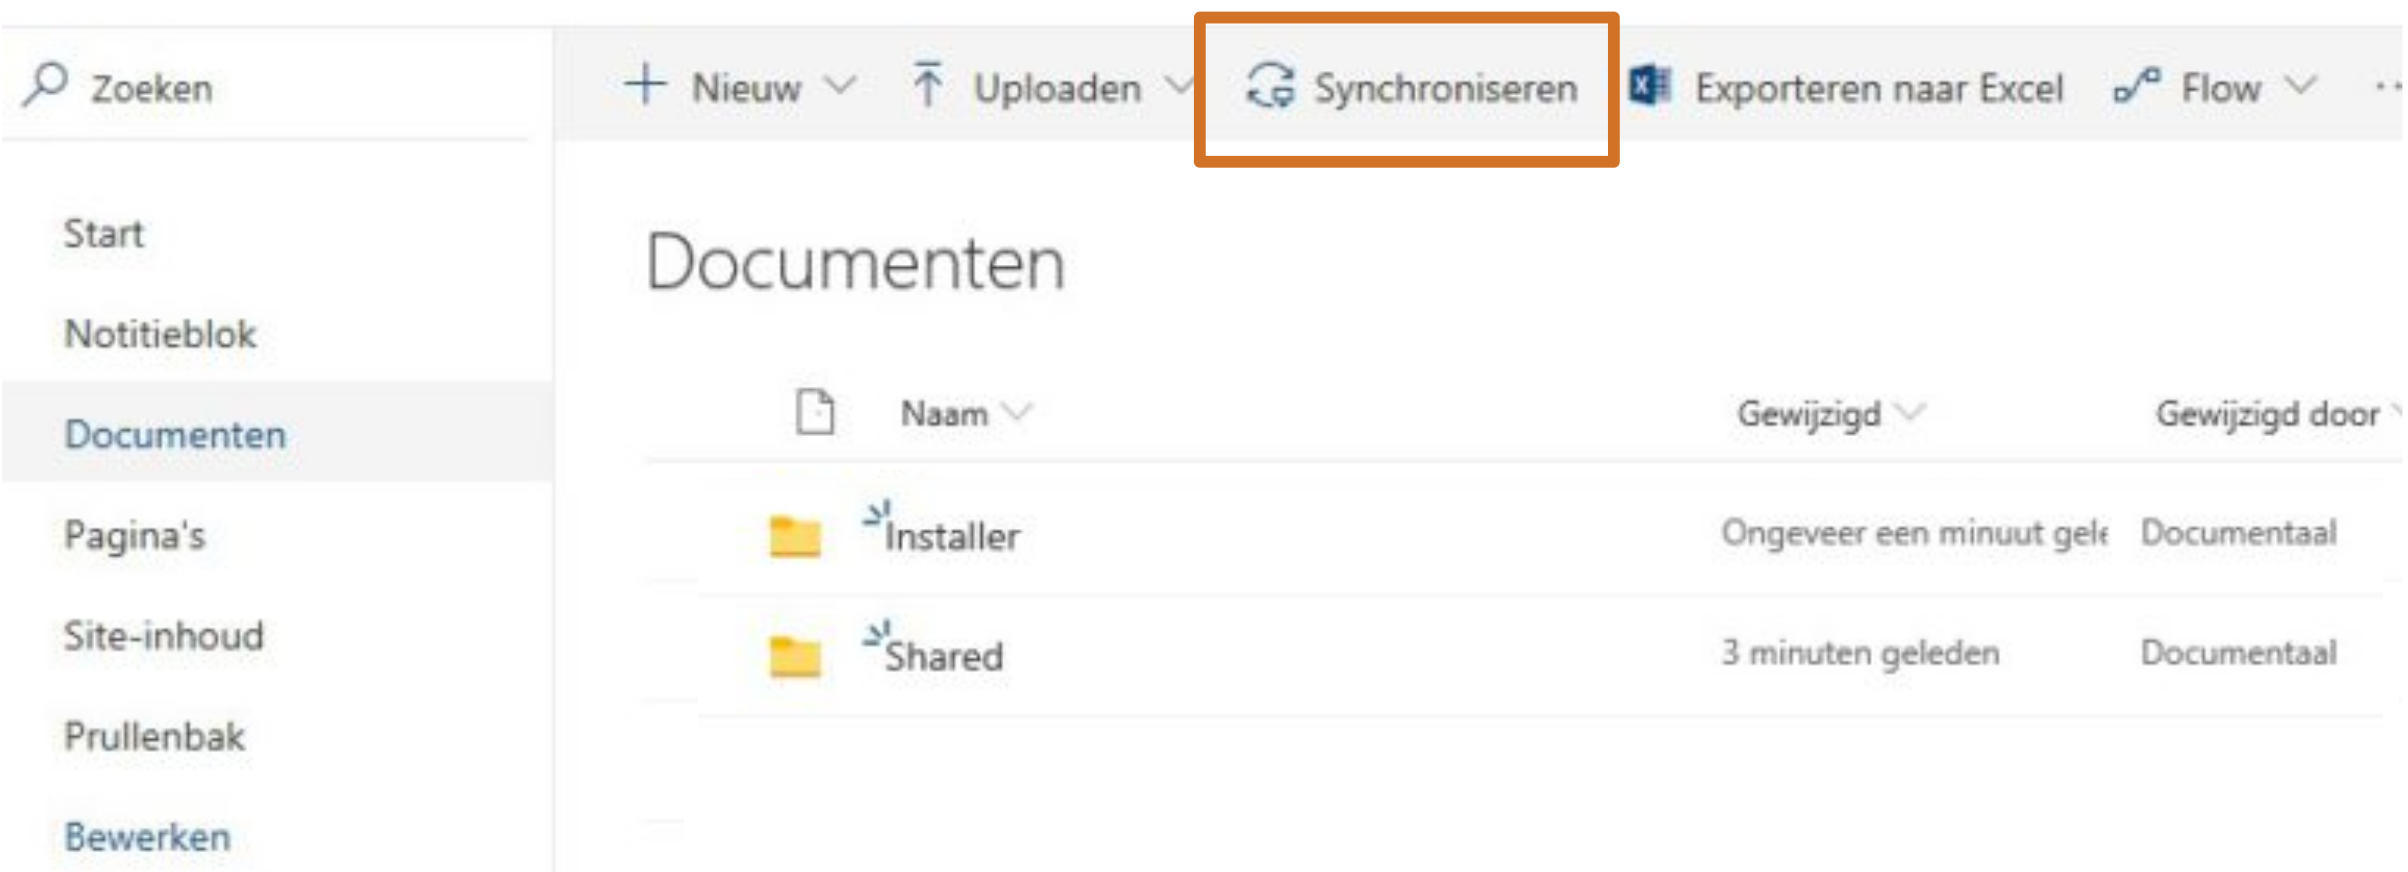
To ensure DocID can be used everywhere, even without an internet connection, the Shared folder must be made available locally using SharePoint's sync button. The folder will then be available locally but remains linked to the central source (SharePoint). Open the Shared folder and click the 'Sync' button at the top of the SharePoint bar.
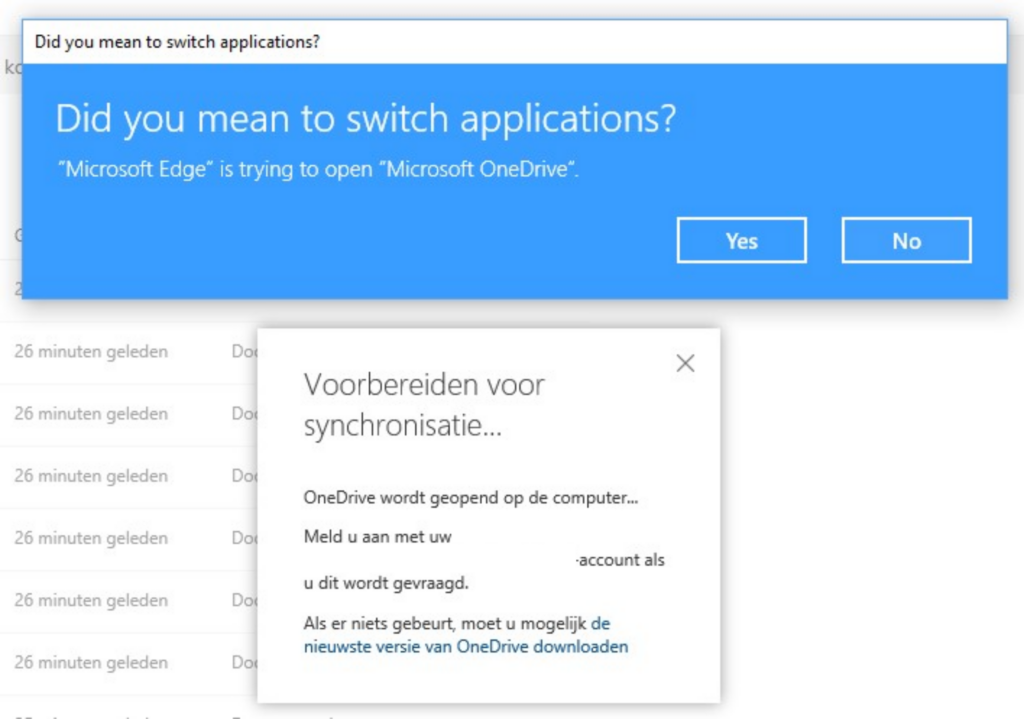
SharePoint will start preparing for synchronization via OneDrive and request permission. Click the 'Yes' button.
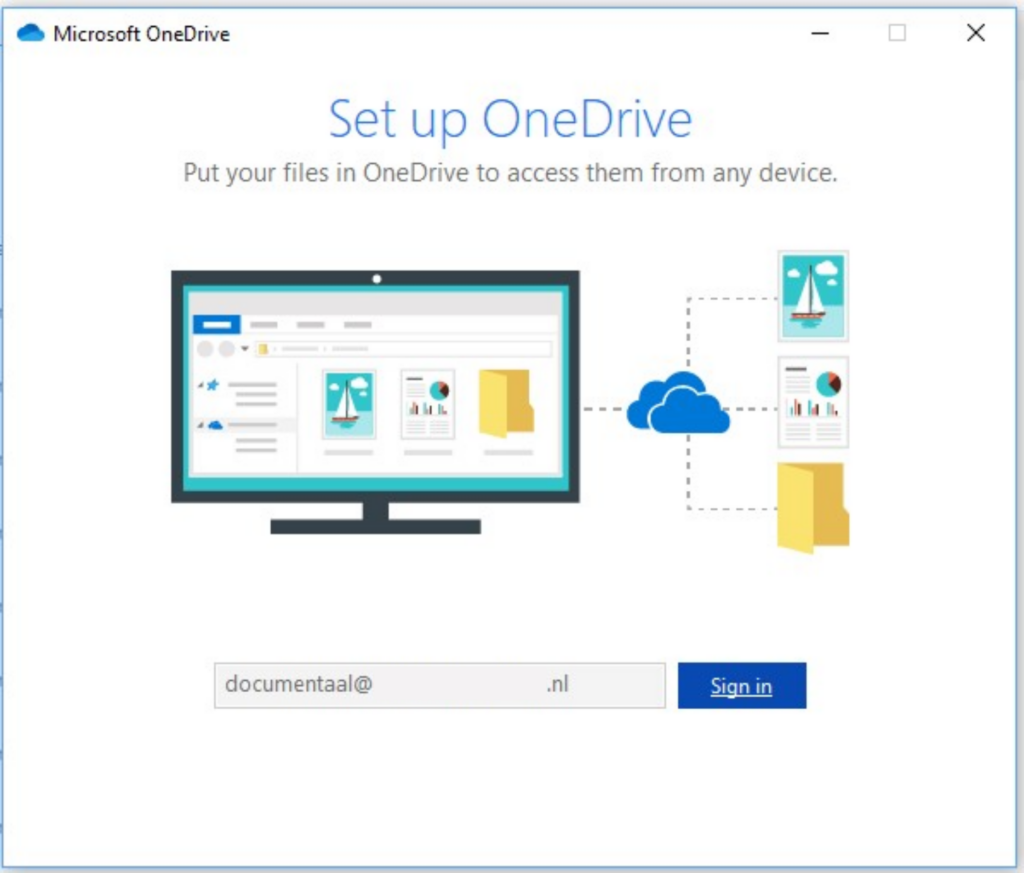
Log in with your SharePoint account and click the 'Sign in' button.
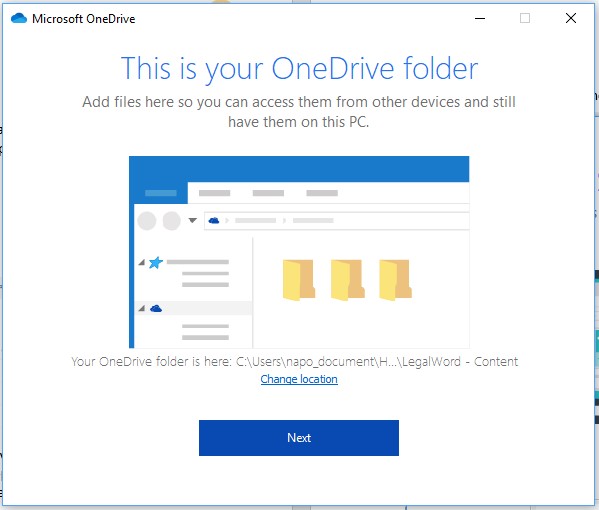
If necessary, adjust the location for the synchronized folder, then click the 'Next' button.
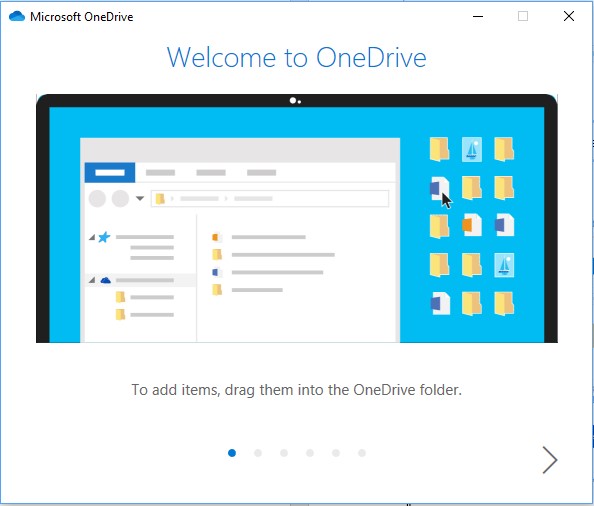
An instruction on using OneDrive and synchronized folders will then appear. You can close this instruction by clicking the 'x' in the top right corner of the screen.
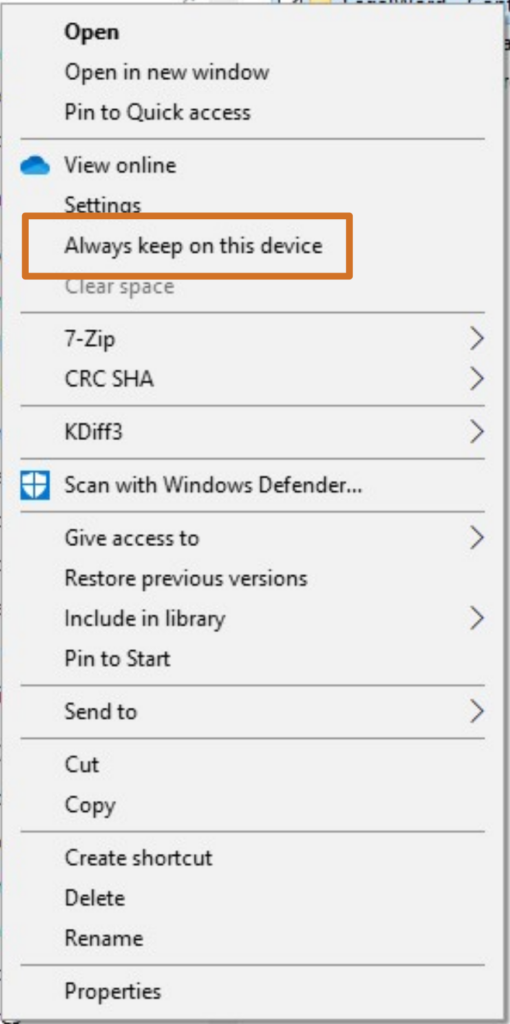
Windows Explorer will open, and the DocID folder will be visible at the chosen location. Configure the folder to always be available. In Windows Explorer, right-click the Shared folder and select 'Always keep on this device'. The cloud icon next to the folder will change to a green checkmark.

The synchronization screen will remain visible in SharePoint. Click the 'x' in the top right corner to close the screen.