Digital signing in dStyle365 / LegalWord365
dStyle365 / LegalWord365 has a standard integration with signing platforms PKI Signing and ValidSign. If an account has been created with one of these parties, the functionality can be used.
As soon as a document is ready for signing, the panel with 'Sign with PKI Signing' or 'Sign with ValidSign' will appear under the E-mail button. The following screen will be launched.
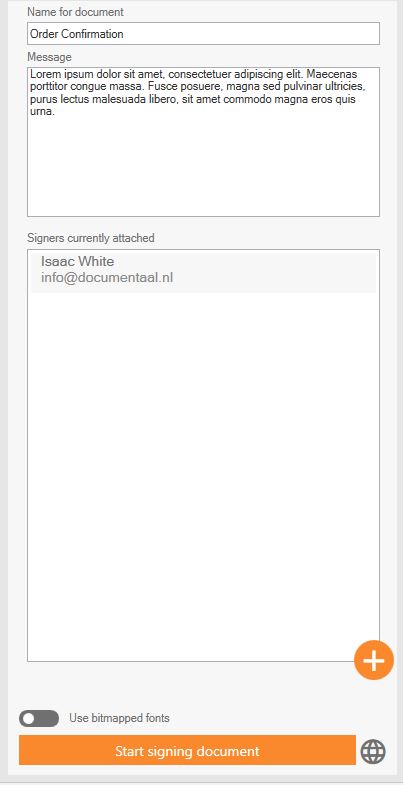
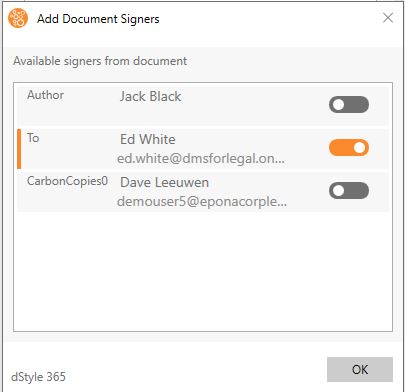
By default, the signatories are already added to the document. The Plus button can be used to select more parties known in the document.
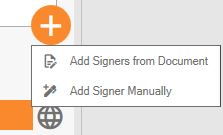
Parties can also be added manually by entering their name, email address, and optionally phone number into the screen.
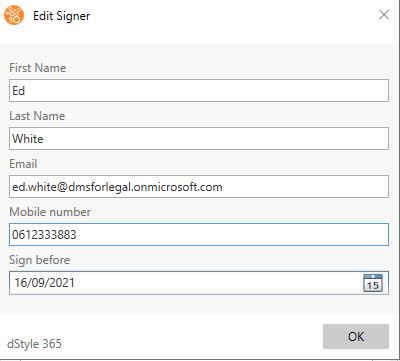
The status indicates whether there is still missing information for the party required for signing.
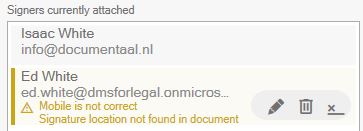
If the signing location has not yet been determined in the document template, one can be assigned manually. Click the cross and then the desired location in the document.
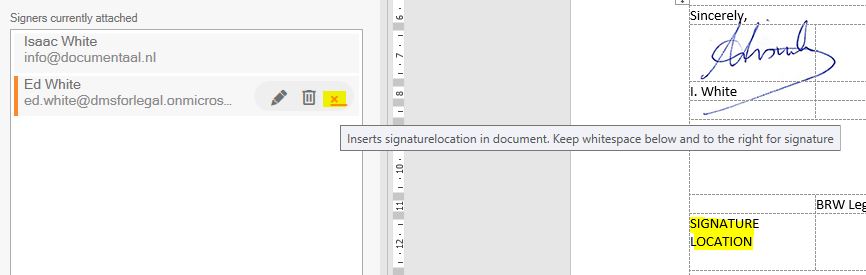
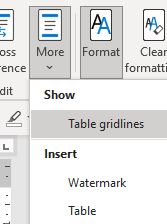
To align the signature location(s) neatly, an (invisible) table can be created. In the dStyle365 menu, click 'More'->'Table lines' to see the grid lines.
Once all parties have been added, the button can be activated to complete the process in the signing platform. Choose 'bitmap fonts' if a non-standard font is used in the document.
